
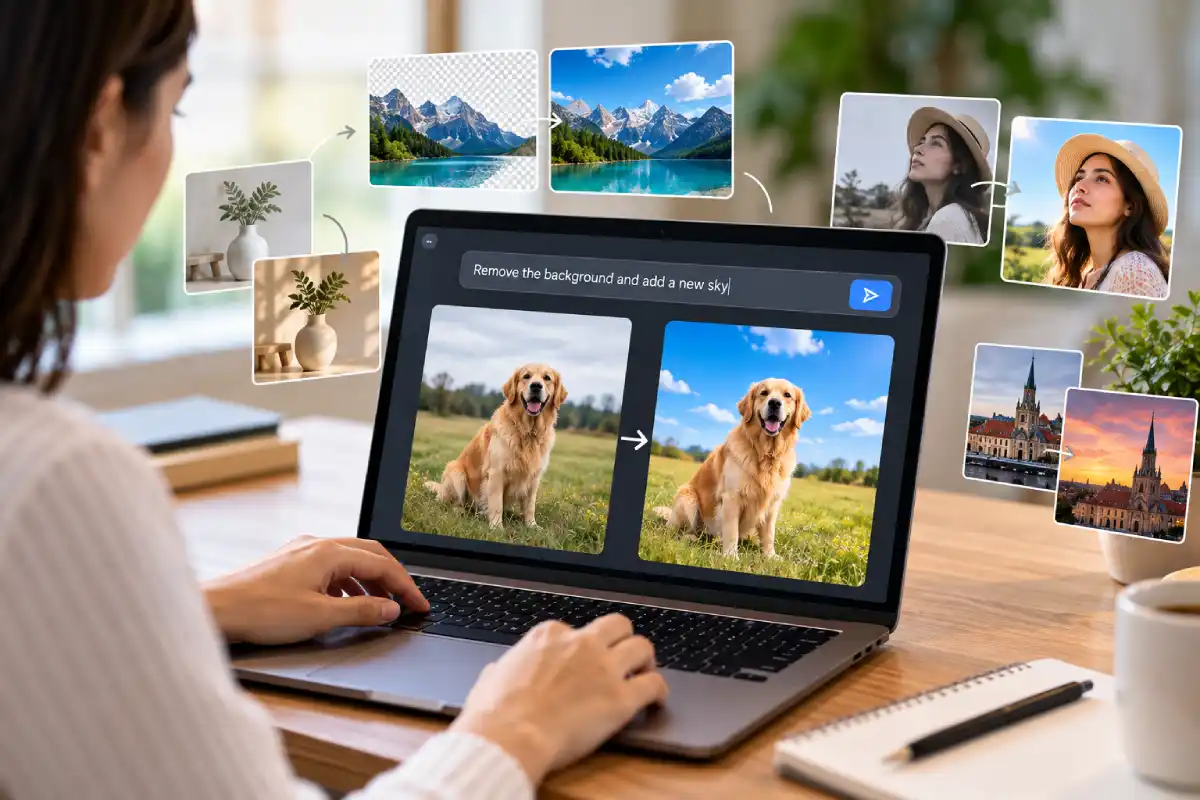
For a long time, AI image tools had one basic rhythm: write a prompt, get a picture, and if you didn’t like it, write a new prompt and start over. That approach works for brainstorming, but it frustrates anyone with a specific picture in mind. You might love the composition and dislike the lighting, yet the only option was to roll the dice again and risk losing everything you liked.
A newer style of tool changes that. Instead of regenerating from scratch, you describe a change in plain words and the tool adjusts the image you already have. A tool like the Nano Banana 2.5 AI image generator sits in this category of generation-plus-editing workflows, and understanding how they work will help you get better results from any of them.
From One-Shot Prompts to Back-and-Forth Editing
Earlier tools treated every prompt as a fresh request. Conversational tools treat the image as something you refine over several turns. You might begin with “a ceramic mug on a wooden table,” then follow up with “make the background a bright kitchen” and “add steam rising from the mug.”
Each instruction modifies the existing result instead of replacing it. This is closer to how people actually work with designers: you give feedback on a draft rather than commissioning a new one every time.
What You Can Usually Ask For
Exact features differ between tools, but conversational editing typically covers a familiar set of tasks:
- Background changes: swapping a setting while keeping the subject
- Object edits: adding, removing or replacing items in a scene
- Lighting and mood: shifting from harsh midday light to soft evening tones
- Style changes: converting a photo into an illustration, or the reverse
- Color adjustments: recoloring a product or restyling clothing
- Cleanup: removing distractions such as stray objects or blemishes
Some of these are closer to traditional photo editing than to image generation, which is why the category is sometimes described as editing with language instead of menus and sliders.
How to Write Edit Instructions That Work
Edit instructions behave differently from first-time prompts. A few habits help:
- Change one thing at a time. Stacking five edits into one sentence increases the chance that something unrelated shifts.
- Say what should stay the same. “Keep the person’s pose and clothing, change only the background” protects the parts you like.
- Be concrete. “Make it nicer” gives the tool nothing to work with, while “make the light warmer and softer” does.
- Work in small steps. If an edit goes wrong, it is easier to undo one change than to untangle several.
- Keep versions. Save milestones so you can return to a good state.
Where Conversational Editing Helps Most
This workflow suits people who know what they want but lack the time or skill for manual editing:
- Small business owners adjusting product photos for different campaigns
- Social media managers producing several variations of one concept
- Bloggers and newsletter writers who need a header image that fits a specific article
- Designers exploring directions quickly before investing in final artwork
- Educators building custom visuals for lessons and slides
The common thread is iteration. When trying several options costs seconds instead of hours, people explore more before settling on an image.
Limits You Should Plan Around
Every tool in this category has weak spots, and acknowledging them avoids wasted effort:
- Unintended changes. Editing one element can subtly alter others, such as a face, a color or a texture. Always compare against the original.
- Text in images. Generated lettering is often inaccurate. For anything readable, add text afterward in a normal design program.
- Identity and likeness. Edits involving real people raise consent and misuse concerns, and tools often restrict them.
- Fine precision. Exact measurements, alignment and pixel-level control are still easier in traditional editors.
- Consistency over a series. Keeping a character or product looking identical across many images takes careful prompting and sometimes several attempts.
A sensible approach is to use conversational tools for the broad strokes and finish with conventional software where precision matters.
Responsible Use
Editing real photographs with AI comes with obligations that generating purely imaginary scenes does not. If you alter a photo of a real place, product or event, consider whether viewers could be misled. Check the terms of the tool for commercial use, since rules differ between plans. Respect other people’s images and likenesses, and follow the disclosure norms of the platform or industry where you publish. The rules here are still evolving and vary by country, so for commercial or high-stakes work, consult a qualified professional.
A Simple Starting Workflow
If you are new to this style of tool, try a short routine:
- Start with a clear base image, generated or uploaded.
- List the two or three changes you want.
- Apply them one at a time, checking after each.
- Compare the final result against the original for unwanted drift.
- Export, then do any final polish in a standard editor.
This keeps control in your hands and makes it obvious which step caused a problem when something goes wrong.
The Bottom Line
Conversational image tools make the creative process feel more like a dialogue than a lottery. You keep what works, change what doesn’t, and reach a finished image in fewer attempts. They do not remove the need for judgment, checking and responsible use, but they reduce the distance between the picture in your head and the one on screen. Use them for fast iteration, verify the results carefully, and let traditional tools handle the final precision work.